Christmas, a time for indulgence, a time for excessive eating, a time for that to stop.
I need vegetables, I need salad, I need fresh...
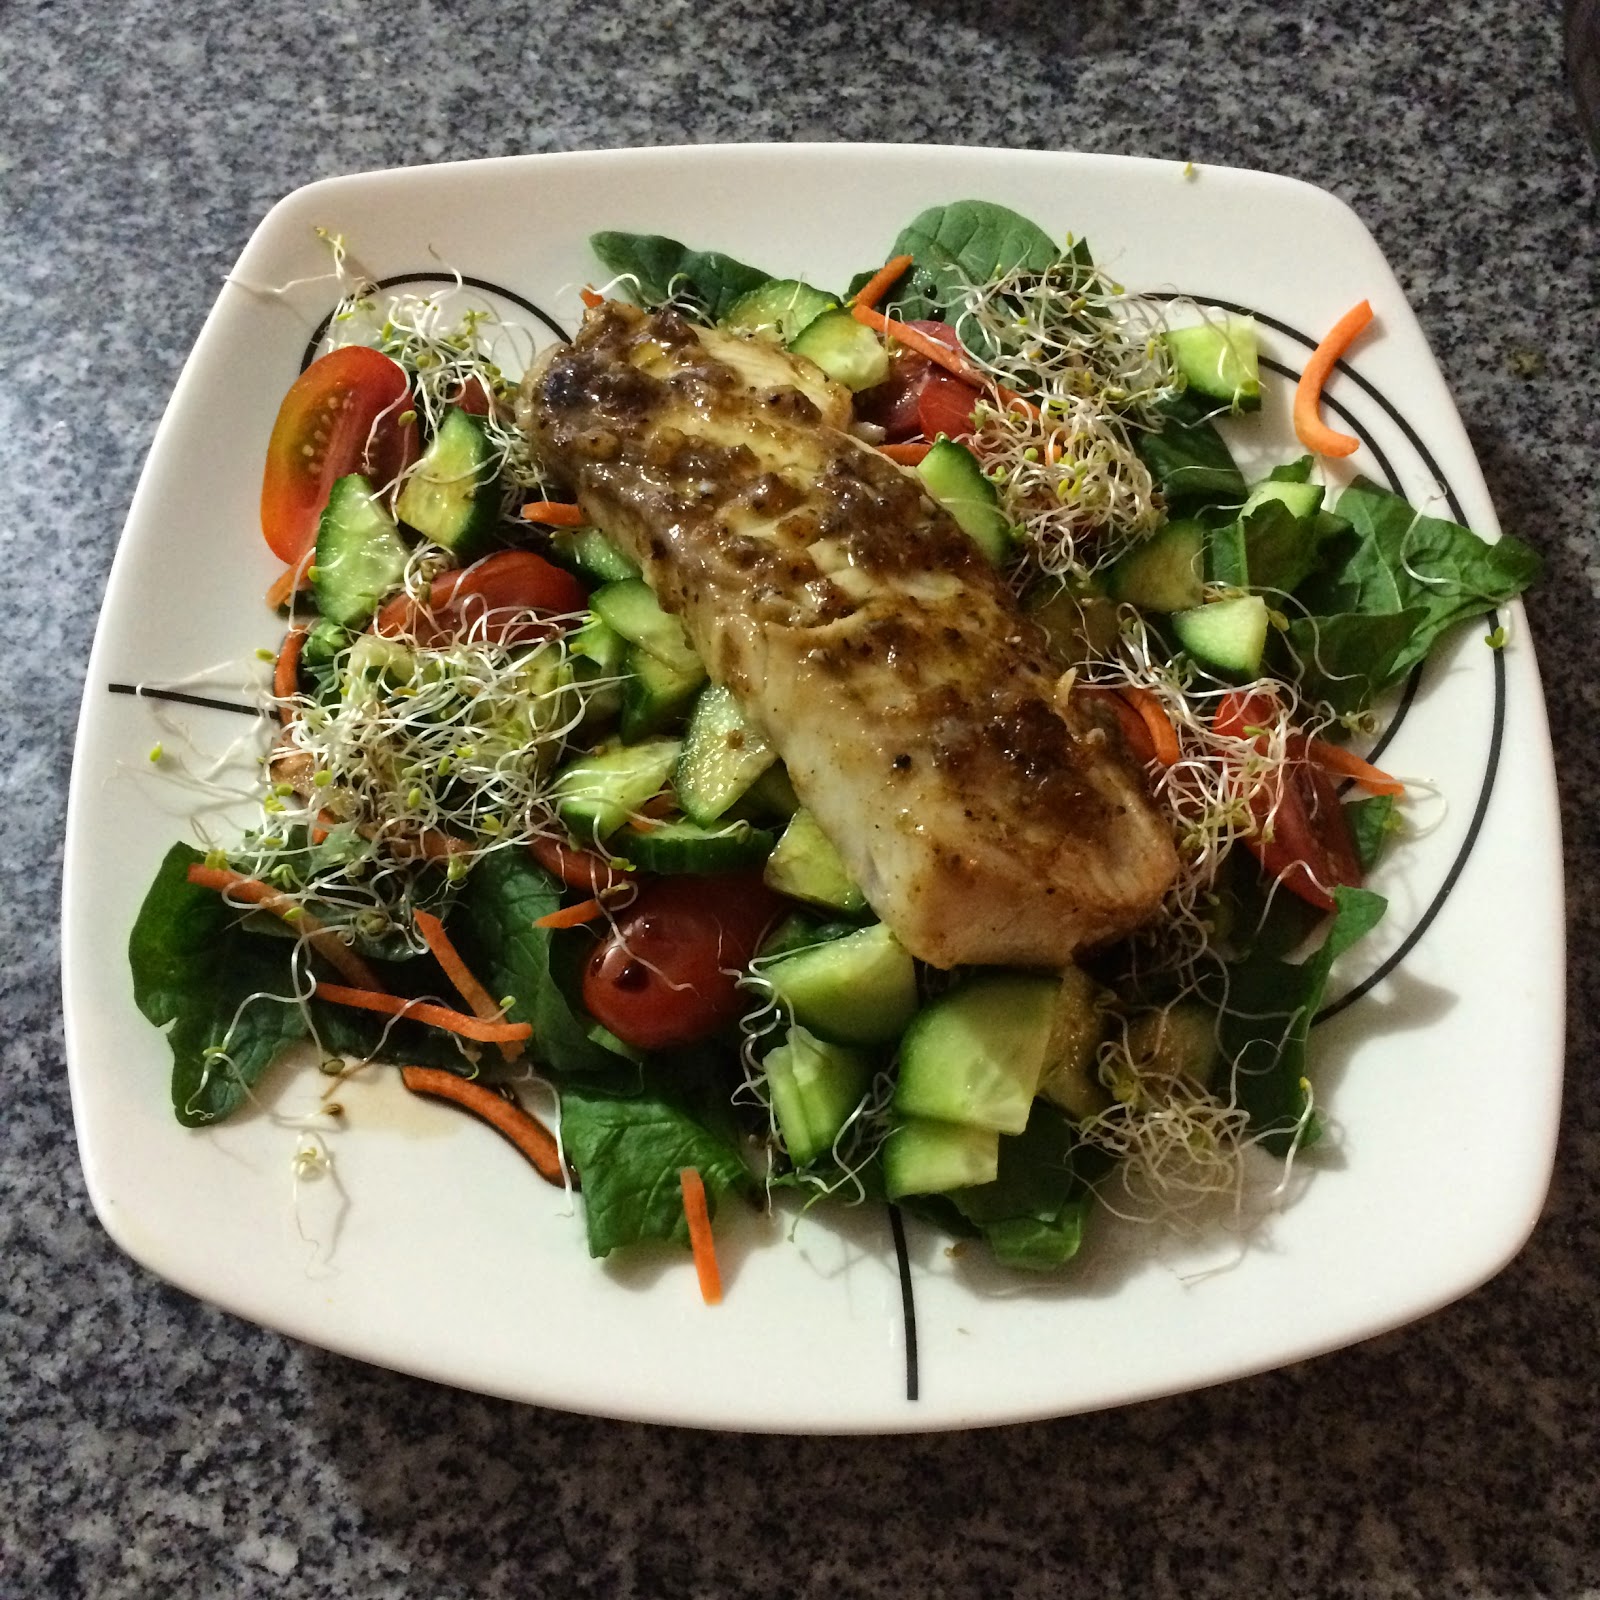
Honey and Lime Tilapia
Serves: 4
Prep Time: 5mins (plus at least 1 hour for marinading) Cook Time: 10mins
Marinade
4 Tilapia Fillets (around 400-500g)
Juice & zest of 1 lime
1 tbsp olive oil
1 1/2 tbsp honey
1/2 tsp salt
1/2 tsp cracked pepper
1 clove of garlic (finely minced)
1. In a small bowl, whisk together the lime juice, zest, olive oil, honey, salt, pepper and garlic.
2. Place the tilapia in a zip lock bag and pour the marinade on top of the fish. Remove the air from the bag and seal.

3. Place in the refrigerator for at least an hour. Be sure to shake the marinade around the bag a few times to ensure an even coating.
4. Place fillets into a hot frying pan and pour the marinade over the top, cook for 3-5mins on each side, turning just once.
5. Serve with salad
The original recipe I adapted this from also had a coating on the fish, I decided to cook it both ways just to see which I preferred.
 |
| With coating |
1/2 cup plain flour
1/4 tsp salt
1/4 tsp pepper
1. In a small bowl, whisk together the lime juice, zest, olive oil, honey, salt, pepper and garlic.
2. Place the tilapia in a zip lock bag and pour the marinade on top of the fish. Remove the air from the bag and seal.
3. Place in the refrigerator for at least an hour. Be sure to shake the marinade around the bag a few times to ensure an even coating.
4. Mix together the ingredients for the coating and place on a plate.
5. Heat 1-2 tbsp of olive oil in a large frypan.
6. Dredge each fillet in the flour, coating both sides. Cook the fillets in the oil for 3-5mins on each side, turning only once.