I love sushi and getting hold of sushi here is easy, but it's holidays so I don't need easy. I needed a challenge, so here from my very own kitchen a variety of sushi rolls...

Sushi Rice
Makes: 6-9 Rolls
Prep Time: 2 mins Cook Time: 10 mins
3 cups sushi rice
3 & 1/2 cups water
Makes: 6-9 Rolls
Prep Time: 2 mins Cook Time: 10 mins
3 cups sushi rice
3 & 1/2 cups water
Sushi Seasoning
½ cup of rice vinegar
2 tablespoons of sugar
2 teaspoons of salt
½ cup of rice vinegar
2 tablespoons of sugar
2 teaspoons of salt
1. Wash the rice in running water for 1-2 minutes until the water runs clear. After you are done washing, take the rice and place it in a
pot, add the water.
2. Cook on high heat at first, stir every minute or two, until the water boils. Then, lower the heat to low and cover the pot. Stop stirring.
3. While the rice is coking prepare the sushi seasoning by placing all ingredients in a small pot on medium heat and stir until the salt and sugar have dissolved.
4. After 6-8 min, check the water level - If there is no more water the rice is ready. If not, check back every minute, making sure not to burn the rice at the bottom.
5. Use a wooden spoon to remove the rice from the pot. Do not scrape the rice out of the bottom of the pot (the rice at the bottom will be dry and won't taste as good). Place the rice into a plastic or wooden bowl to chill. Pour the sushi seasoning over the top and stir through.
The sushi you make is up to you. I did both inside out and regular rolls and created a range of fillings based on what Rory and I like.
Spicy Tuna
Tuna steak
3tsp Sriracha sauce
1/2 tsp Sesame oil
1 sheet of Nori
1/2 cup sushi rice
1. Combine the Sriracha sauce and sesame oil in a bowl.
2. Place the nori shiny side down on the bamboo mat, cover with rice - slightly dampening your hands (1/4 cup water with 2 tsp rice vinegar) will make spreading the rice much easier as it won't stick to your fingers.

3. Lay the cubed strip of tuna across the rice and top with the sauce.

4. From the bottom end, start rolling the nori sheet over the filling tightly and firmly with the bamboo mat until the bottom end reaches the nori sheet. Squeeze tightly.


5. Gently and carefully unfold the mat, leaving the roll tightly tucked. Reposition your hands on the mat to roll the sushi over further. At this point he bamboo mat will have overhang, be sure to keep this folded up so that it doesn't get trapped inside the roll.

6. Slice the roll into individual pieces.
 *I had looked at a few recipes which suggested only using half the nori sheet per roll, but I found this made a very small roll. With the section I cut off I tried again and was able to create a spiral finish which looked much better than the squished up original.
Philadelphia Roll

Philadelphia Roll
Salmon Fillet
Cream cheese
Seasame seeds
1 sheet of Nori1/2 cup sushi rice
This roll was an inside out version.
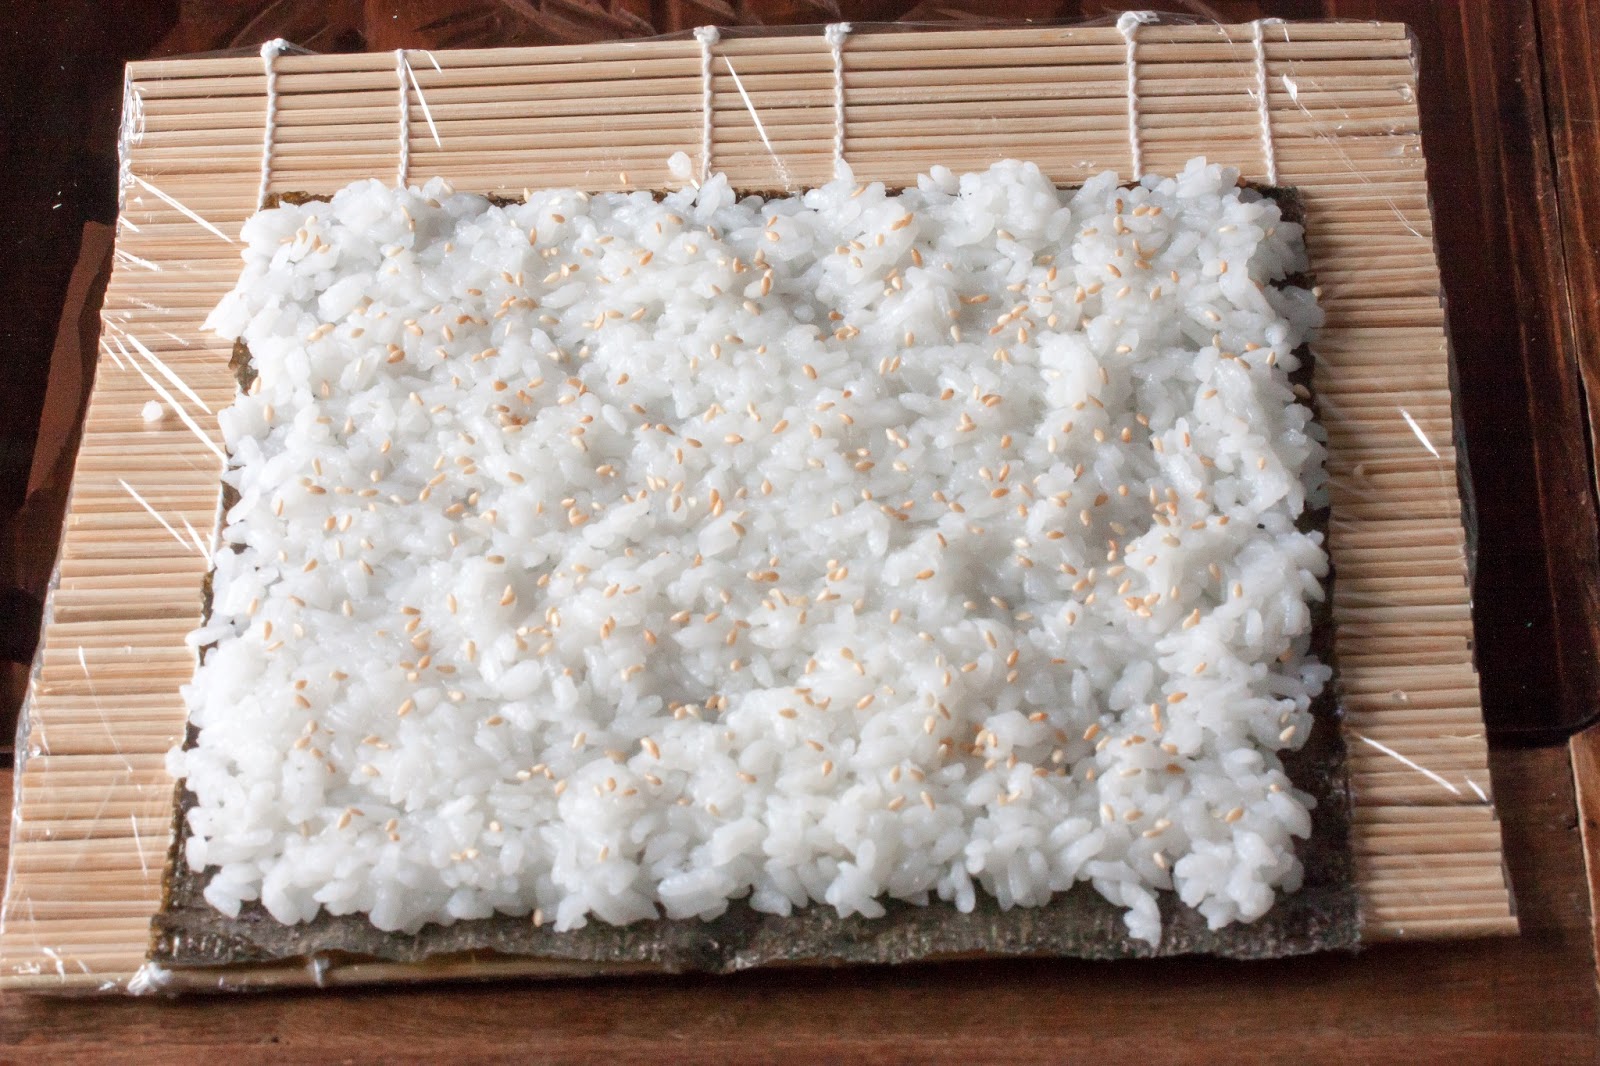
1. Lay the nori sheet down and cover with rice. Sprinkle roasted sesame seeds over the rice and then flip the nori sheet over so the rice is in contact with the bamboo mat.(Cover the bamboo mat with cling film for this one so you don't spend hours cleaning squished rice out of the gaps in the mat)

2. Lay the salmon onto the nori and then spread cream cheese along one side.


3. Roll, cut and enjoy


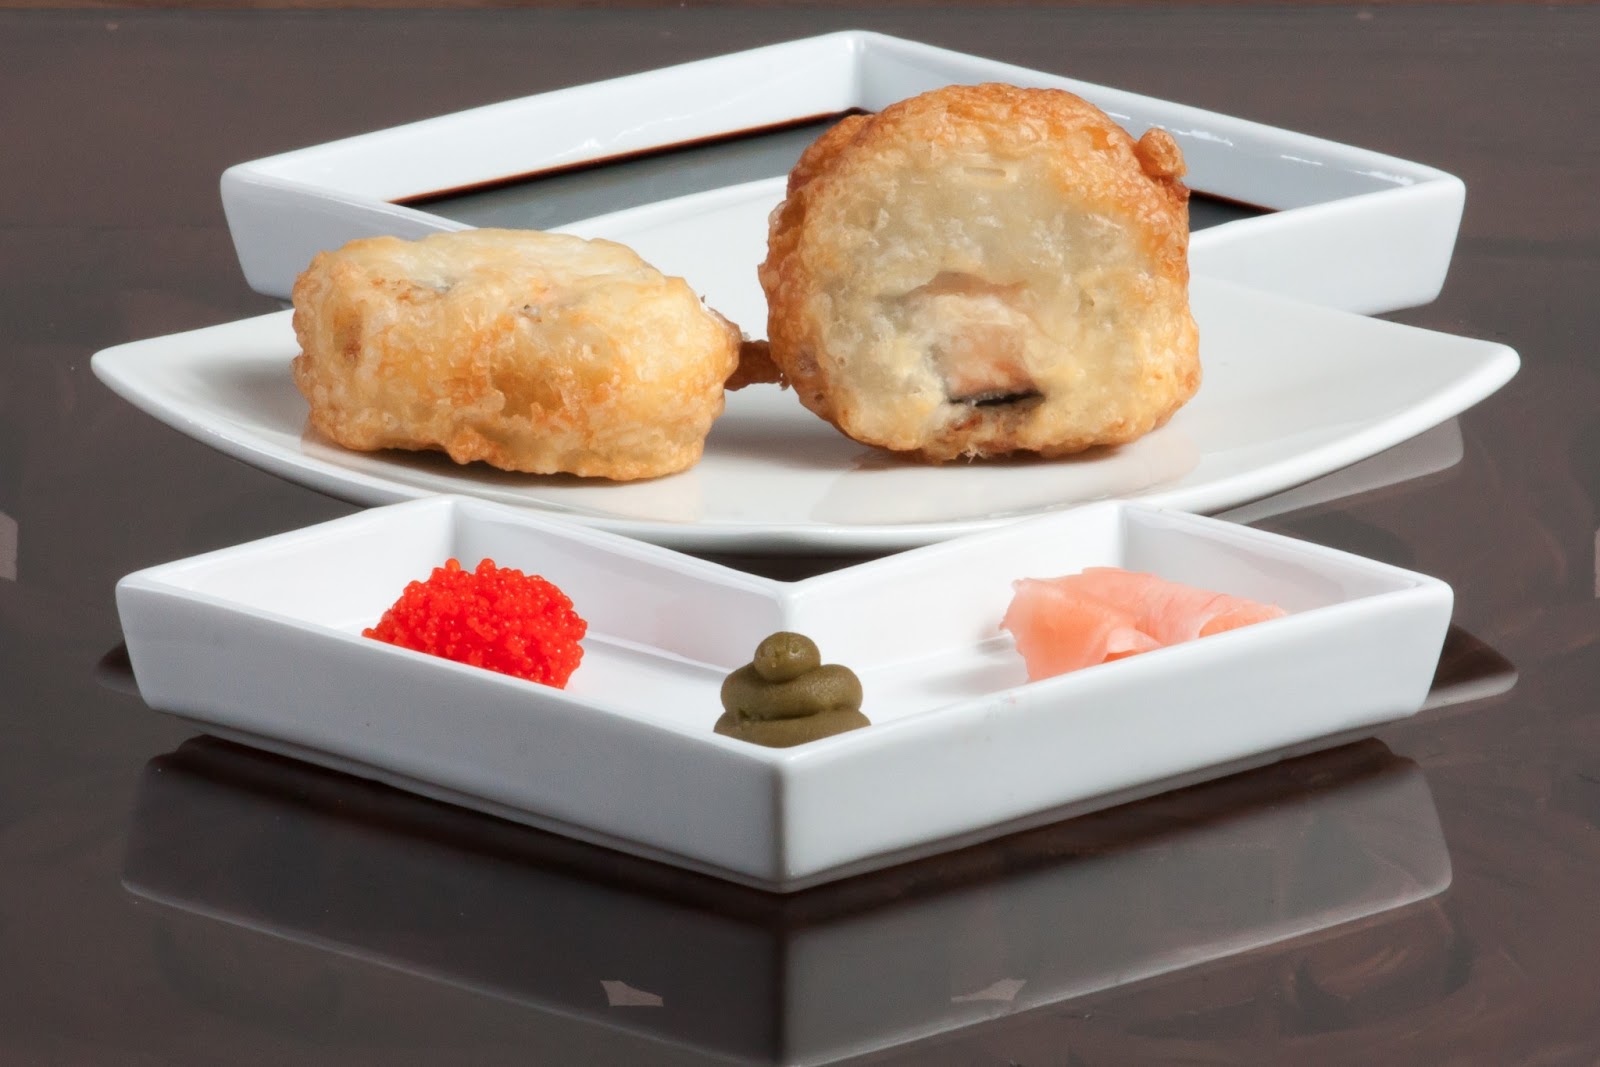
On my trip to collect supplies for the sushi I found tempura batter mix so as an experiment we fried half of the philadelphia rolls in tempura batter.
1. Dip prepared roll in tempura batter flour and then dredge through the batter mix.
2. Shallow fry in oil (170 degrees).

Tropical Roll
Tempura Salmon
Mango slices
Avocado slices
Cucumber slices
Japanese mayonnaise
Toasted coconut
Sushi rice
Nori
1. Pepare nori and rice as per philadelphia, sprinkling instead with roasted coconut.
2. Flip the nori sheet over and lay all ingredients down onto the seaweed.
3. Roll, cut and enjoy!


Spicy Salmon
Salmon Fillet
Salmon Roe
Salmon Roe
Sriracha sauce (as per spicy tuna)
Wasabi
1. Prepare the nori as per the spicy tuna recipe.
2. Lay down the salmon fillet, add the salmon roe, sriracha sauce and spread on some wasabi.
2. Lay down the salmon fillet, add the salmon roe, sriracha sauce and spread on some wasabi.
3. Roll, cut and enjoy!


This sushi was amazing (even if I do say so myself). I may never order sushi out again!


